iBuildApp App Builder added integration with Dropbox for business login for file hosting
You’ve worked a bit on your new mobile app, uploaded products, linked your app to file hosting services and you’re about to hit the Publish button for the whole world to see.

But before that mobile app goes live, it’s a good idea to take a moment for planning your launch. Just start by going to Sign in or Login page in Dropbox for business site and using your account to view, share, and edit files on different devices. Instantly access all your files from anywhere.
Kissmetrics offers a wonderful article on pre and post mobile app launch pitfalls to avoid, and it’s essential to consider these before going live. Here are a few of the mistakes to avoid:
- Not committing any time to market research.
- Not implementing a feedback loop.
- Not marketing your app early enough.
- Not focusing on relevant keywords.
- Not planning your app release date in advance.
- Not focusing on user retention.
- Forgetting to measure anything about your app.
- Not providing incentives for people to host and share your app.
Now that you see what areas to avoid, let’s take a look at the steps to launch a new mobile app like a pro.
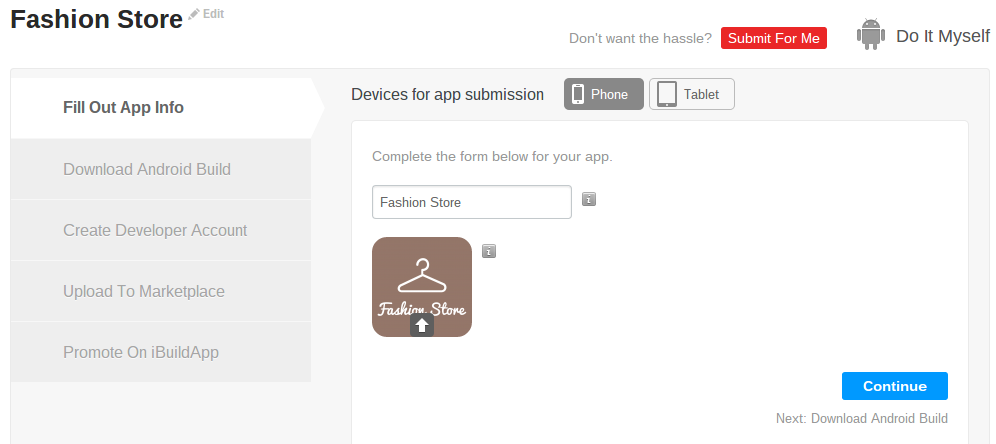
Step 1: Select the Right Mobile App Template from your DropBox login storage or google drive
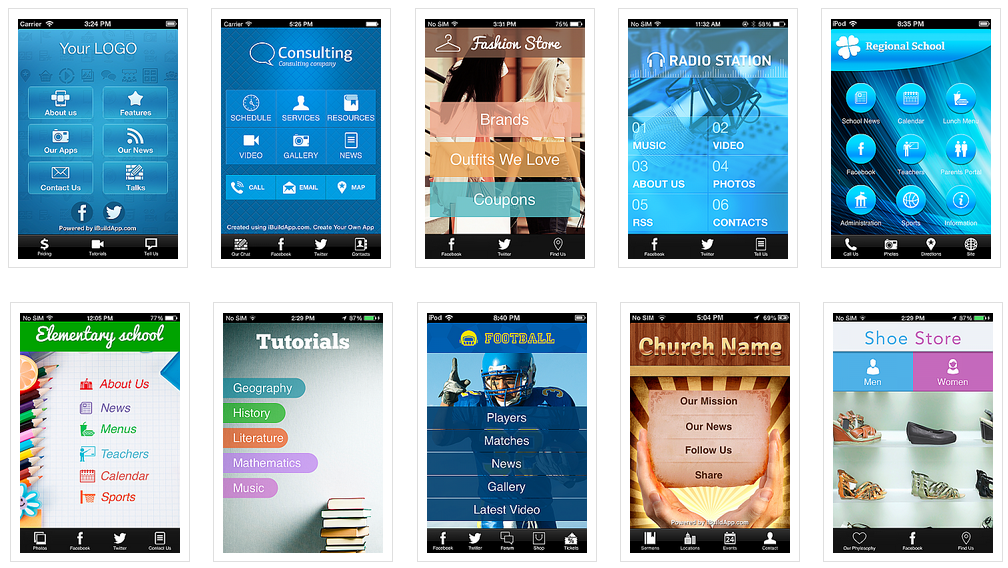
Most people who make new mobile apps aren’t developers, so iBuildApp provides hundreds of professionally designed mobile templates, hosted in the cloud file apps sharing service, for you to get started with. The key is to find a solution that fits your market and desired branding goals. If you run a radio station and your business is branded with blue colors, find a template option that already has that.
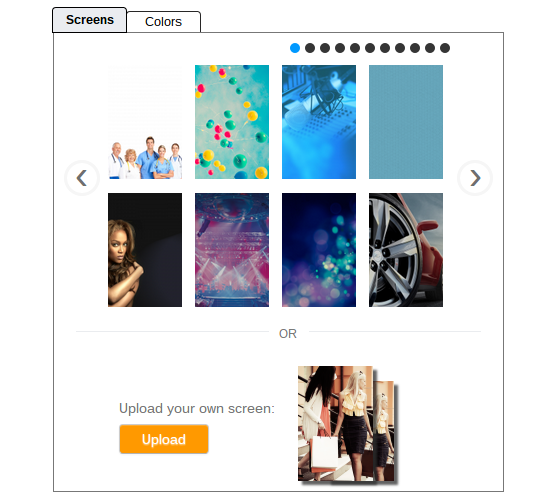
The coolest part of these templates is that they are all fully customizable, so if you land upon a design you enjoy, yet it’s missing a few components you need, just change the colors, add some features and upload from Dropbox using your account login your own images.
Step 2: Customize the App to Fit Your Brand
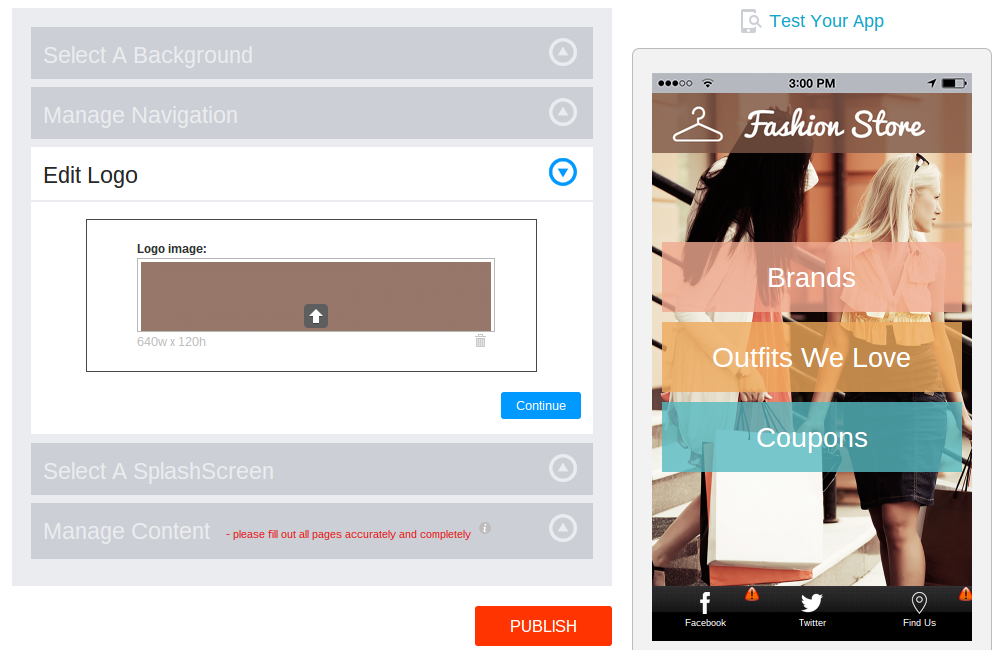
Once you’ve grabbed your template, it’s time to make it yours. Add logos, buttons that align with your strategy and features that will potentially bring in business. For example, a huge part of branding for a restaurant is a reservation system. After all, if your app doesn’t provide this, what’s the point of people downloading it?
Strive for a clean finish that represents your brand in a respectable way, and refrain from cluttering the app with useless features or buttons. Feel free to check out our guide on How to Make a Mobile App that Empowers Your Business for help.
Once you downloaded the desktop app on your PC, or mobile app on the phone for business you can install it. Start installation by creating an account or using your existing Dropbox login account.
Step 3: Make Sure Your Media and Text are in Line with a Mobile Platform
Although every template in the iBuildApp store is designed to work well on all mobile devices, some of the elements you host on cloud file hosting, a service that keeps your files safe, synced, and easy to share, may not look all that great on tablets or phones. Bring your photos, docs, and videos anywhere and never lose a file again.
Yes, you can upload your own background, and yes you can upload your own logos and buttons, but have you tested them to see if they come up as the right dimensions on a smartphone? If not, your visitors will immediately consider your app unfinished, and leave.
Step 4: Get Feedback Before Going Live
Look to your friends, family and trusted customers to receive input on the app before launching. Beta testers are friendly, yet critical, people who are willing to play around with the app and send you feedback for improvement.
Don’t just leave them it to them to come up with comments. Make a survey with questions on which parts they enjoy and which areas they find confusing or ugly.
Step 5: After Going Live, Promote with iBuildApp Tools
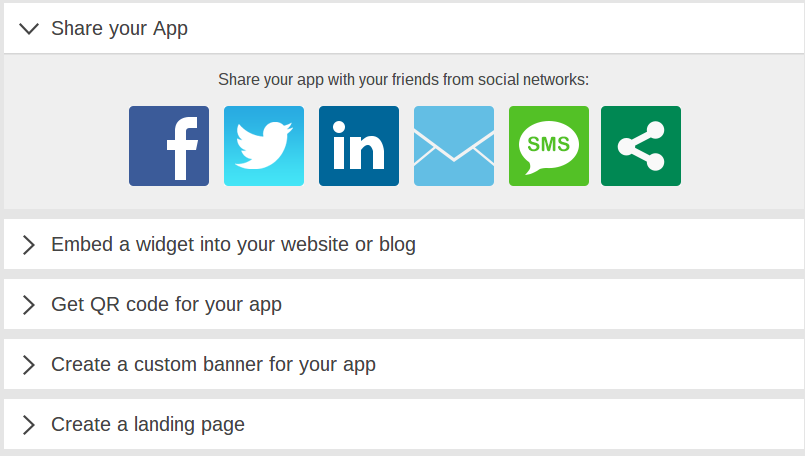
The iBuildApp platform provides five ways to promote your new mobile app after going live, and they are all offered for free on the iBuildApp dashboard. These promotional tools include:
- Social and email sharing and hosting.
- Embeddable widgets for your website or blog.
- QR codes for people to scan and download the app.
- Custom banners for sharing through websites, emails and on the mobile app.
- A handy landing page feature with links for social sharing, app stores and QR codes.
Step 6: Publish on the Android and Apple App Stores
Even though an .apk file, hosted in the cloud file hosting, is a viable way for customers to download and share the app with other people, your ideal destination is publication on the Android and Apple iTunes App Stores.
Feel free to walk through the process yourself or ask the folks at iBuildApp to lend you a helping hand. Both Apple and Android have their own application processes, so you must walk through both.
Step 7: Make Good Use of Social Media for your photos, docs, videos, and files
Along with the social tools on iBuildApp, you must decide which social media channels you can connect with customers most on. Try out Twitter or Facebook, and share the good news that your mobile app is ready for a download.
Place download links and even give out exclusive specials to those who buy through your app or use it to book reservations.
Host Your App Content on Dropbox cloud storage with single login
Launching your new mobile app is like running a comb through the creation and making it as perfect as possible. Storing your app content in a cloud hosting that allows users to create a special folder on their computers, and next synchronizing so it appears in the same folder in your computer is very convenient. All your files stored in this folder can be accessed via website and mobile apps with single sign in.
If you need to upload your files to a website take the following steps:
1) Log into your secure account with the email address and password you used to sign in. This is the email account and password that’s connected with your purchase of business account. 2) Click on Upload button. A window will appear. 3) Click on Choose File button, select the file on your computer that you want to add; 4) Choose any files you want to store, and upload them.
If you have any questions about how to launch a new mobile app like a pro, leave us a message in the comments section below.