Reseller Guide
Overview
- Development Plans
- Reseller Program
- Reseller Support Plans
- Useful Resources
Getting started
- Subscription
- Choosing domain name for your Reseller website
- Setting up your DNS
- Setting up your environment
Admin Panel
- Entering your Administrative Account
Branding
- Site Name
- Changing your Reseller Site Logo
- Changing your Reseller Site Colors & Images
- Creating & Managing Menus
- Localization
- Socialize
Payments
- Creating your PayPal payment button
Management
- Users management
- Apps management
- Builds management
- Templates management
- Modules management
Advanced
- Working with remote server
- Customizing your Reseller Web Site
- Changing your Web Site Style
- Adding menu to your Template
- Changing your site Logo
- CSS Cook Book
- CONCLUSION
First step towards branding your site is choosing your Reseller site domain name as it's described above.
To customize logo, log into your website, go to My_site_name.com/wp-admin/ and select "Appearance"->"General" on the left navigation bar.
To change the logo, click "change logo" on the right of the logo image and choose the desired image in the file browser popup.
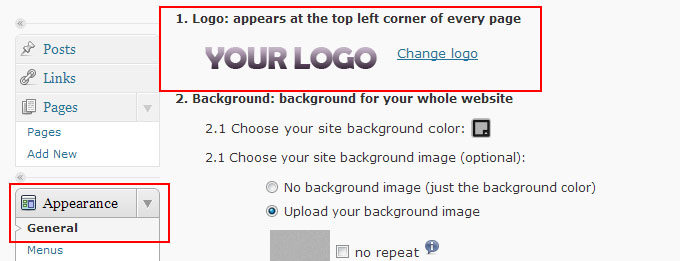
NOTE: Your image should be 200px width and 70px height. Image size should not exceed 1MB.
To save changes click "Save" button at the bottom of the page.
To change your Reseller site logo, log into your website, go to My_site_name.com/wp-admin/ and select "Appearance"->"General" on the left navigation bar.

To set your site background refer to "Background: background for your whole website" section.
- Choose background color "Choose your site background color" using the color picker. Under "Choose your site background image (optional)" choose the "No background image (just the background color)" option as shown on the picture below:
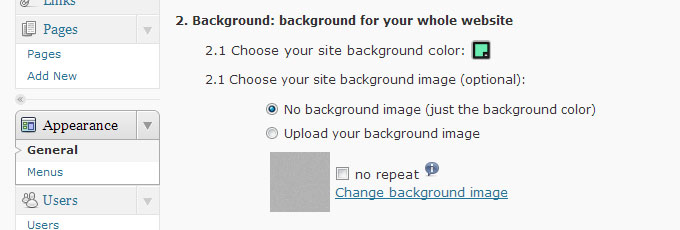
- To set your background image: click on the "Change background image" link under "Choose your site background image (optional)" and select desired image from the file browser popup window. By default, background image is repeated both vertically and horizontally. Use "no repeat" option if you don't want it to be repeated.
To save changes click "Save" button at the bottom of the page.
To set your home page background refer to "Homepage Background: background for your Homepage" section.
- Choose your background color under "Choose your site background color" using color picker control. Under "Choose your site background image (optional)" chose the "No background image (just the background color)" option as shown on the picture below:
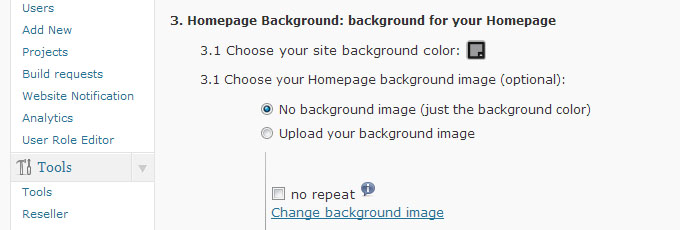
- To set a background image, click the "Change background image" link and select desired image from the file browser window.
By default, background image is repeated both vertically and horizontally. Use "no repeat" option if you don't want your image to be repeated.
To save changes click "Save" button at the bottom of the page.
To set the main image for your home page, locate the "Main image: an image that appears on your Home page" section:
- Click "Change Main Image" link to choose desired image
- Specify the image position using "Verticaly" and "Horizontaly" controls:
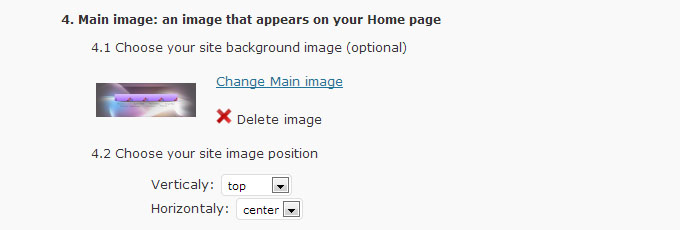
NOTE: Recommended image dimensions are 1600 px in width and 555 px in height.
To set your site header background refer to "Header: top rectangular shaped area that runs across the top of the web page" section.
- Choose background color using color picker control. under "Choose your site header background color" with the help of the color picker. Under "Choose your header background image (optional)" chose the "No background image (just the background color)" option as shown on the picture below:
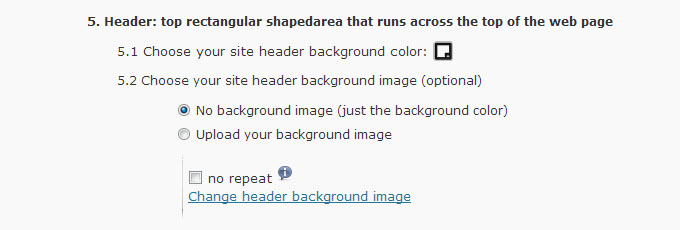
- To set a background image, clilck the "Change background image" link and select desired image from the file browser window.
By default, background image is repeated both vertically and horizontally. Use "no repeat" option if you don't want your image to be repeated.
To save changes click "Save" button at the bottom of the page.
To set your site footer background refer to "Footer: bottom rectangular shapedarea that runs across the bottom of the of the web page" section.
- Choose background color using color picker control. "Choose your site header background color" with the help of the color picker. Under "Choose your header background image (optional)" chose the "No background image (just the background color)" option as shown on the picture below:
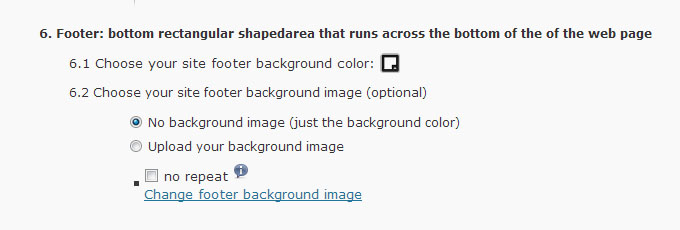
- To set a background image (which is optional), clilck the "Change background image" link and select desired image from the file browser window.
By default, background image is repeated both vertically and horizontally. Use "no repeat" option if you don't want your image to be repeated.
To save changes click "Save" button at the bottom of the page.
Menu customization feature allows you to create and manage menu items via your Admin Panel.
You can manage the header menu (located at the top of the page) and bottom menu (located at the bottom of the page); create a menu item and associate it with one of the main menus.
NOTE: if your menu item isn't associated with header or footer menu, it will not be available for your customers on your website.
Menu Creating
To setup a menu, log into your website, go to My_site_name.com/wp-admin/ and select "Menus" on the left navigation bar.
- Enter the menu name and click "Create menu" button:
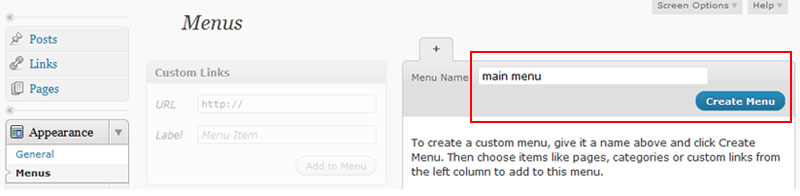
NOTE: you can create as many menu sets as needed, but only 2 menu sets are used on the site.
- Pick your menu location:
- "Main menu" - your menu will be located in the header of your site, right after your site logo.
- "Bottom menu" - your menu will be located at the bottom of your site, in the footer area.
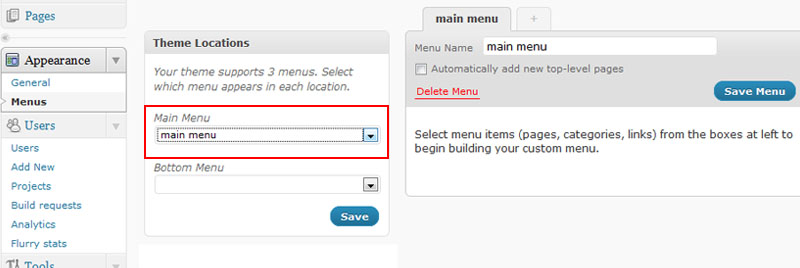
NOTE: you can use your menu both as "Main menu" and "Bottom menu". Only menus set "Main menu" and "Bottom menu" will be shown on your site. All the others will be hidden.
- Adding menu items:
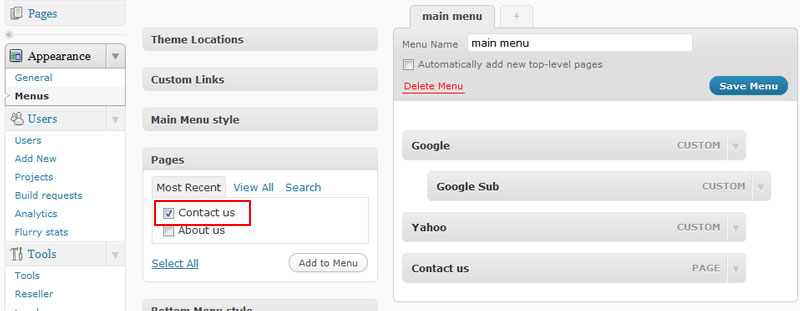
To add a menu item, fill out "URL" and "Label" fields and click "Add to Menu" button, then "Save Menu" button. Added items will appear in the tab with your menu name.
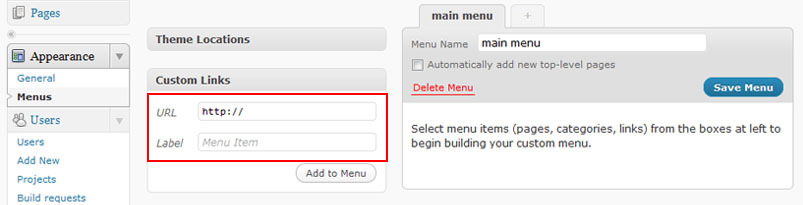
You can add as many items as needed.
Menu managing
- To manage the menu, refer to appropriate tab with the menu name. Drag & drop to:
- Change the items order
- Create second level menu
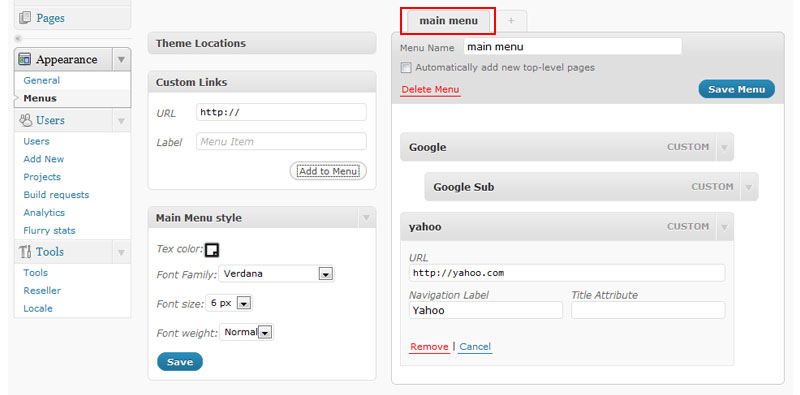
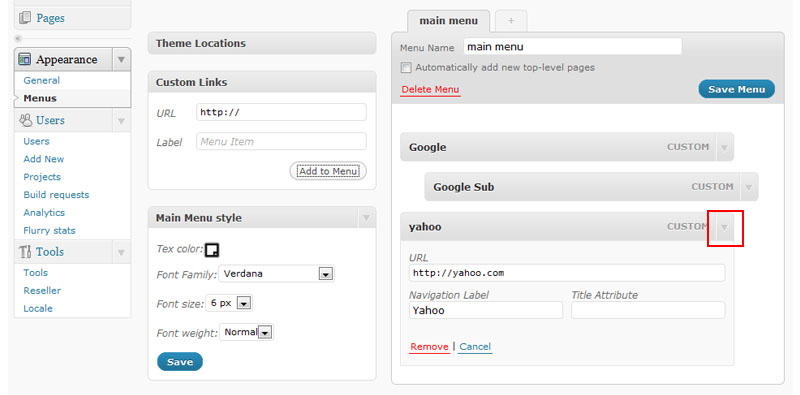
- To edit or delete a menu item, click on the "Down" arrow on the right to expand the edit form. To save changes, click on the "Save Menu" button
- You may customize your menus through the following sections:
- "Main Menu Style"
- "Bottom Menu Style"
- "Second level Menu Style"
- "Text color"
- "Font Family"
- "Font size"
- "Font weight"
NOTE: For each of menu types the styles are set separately.

If you've already created some pages via Admin Panel, you can add them to your menu via "Pages" section where all pages are listed. Locate the pages you would like to add to your menu, click "Add to Menu" button, then "Save Menu" button.
The Localization feature allows you to adopt your reseller website to regional differences.You can use one or more languages on your site. Your users get an opportunity to switch site language.
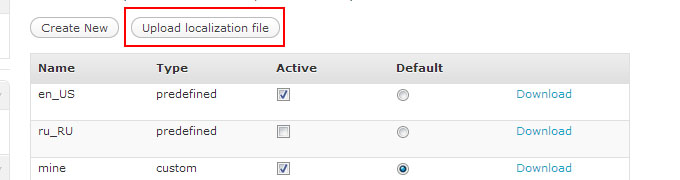
To setup a localization, log into your website, go to My_site_name.com/wp-admin/ and select "Localization" on the left navigation sidebar. There are three ways to setup a localization:
-
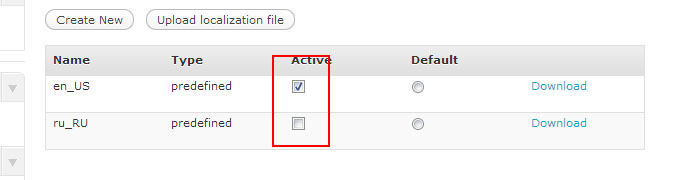
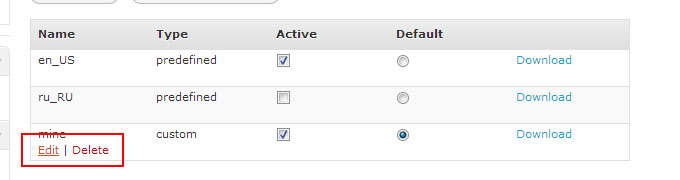
Pick one of the predefined localizations from the list checking checkbox in "Active" column. Selected localization will be applied immediately to your website. You can also chose the default localization checking the radio button in "Default" column on the right.
If you decide to stop using any localization simply uncheck the checkbox.
-
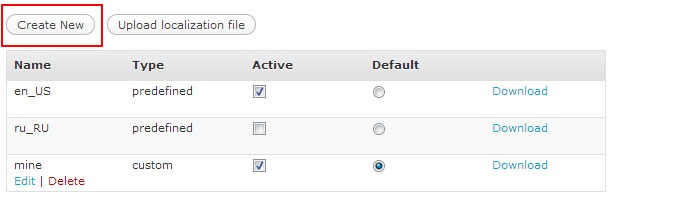
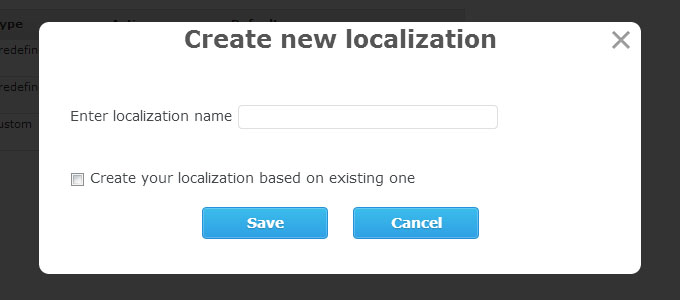
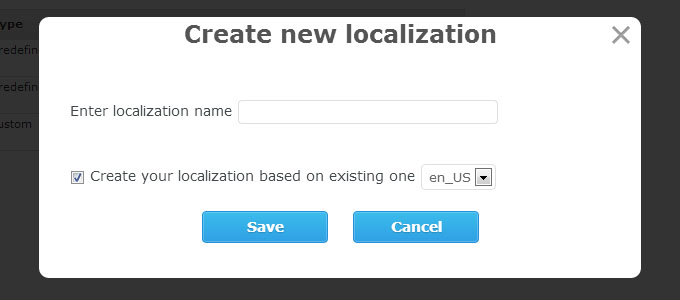
"Create new" — if none of predefined localizations works for you, you can create your own localization. Click "Create new" button, enter the localization name in the popup and click "Create". New localization will be applied immediately to your website.
NOTE: New localization is preset with English entries by default. It will be updated on your website as you entering and saving new translations.
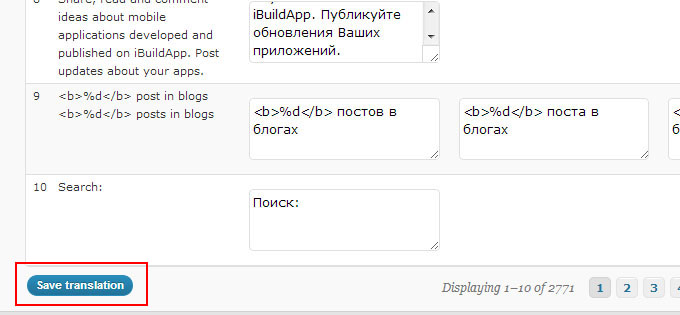
Once new localization is created, you may start translating phrases, entry by entry.
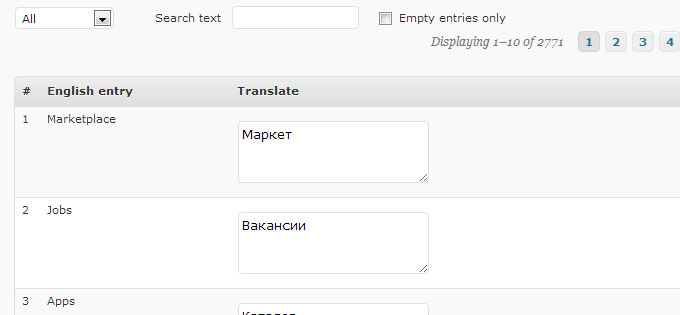
Click "Save translation" button to apply the changes. Once done — your website will automatically get updated with new translations.
- You can also setup new localization, using existing localization as a start point. Click "Create New" button and in the popup check "Create your localization based on existing one" box and select from the list of available localizations. Then click "Create" button to start new localization. Now you can customize your new localization. New localization will be applied immediately to your website.
NOTE: existing localizations also include localizations created previously.
-
If you want to edit your localization (the one you've created before) hove your localization name and then click "edit" link under your localization name. After that your localization will be available for editing.
You can filter phrases by category or empty entries.
You can also search for phrases in English or translated phrases using the "Search text" field.
NOTE: in order to find a specific phrase you must check the EXACT match on the website.
-
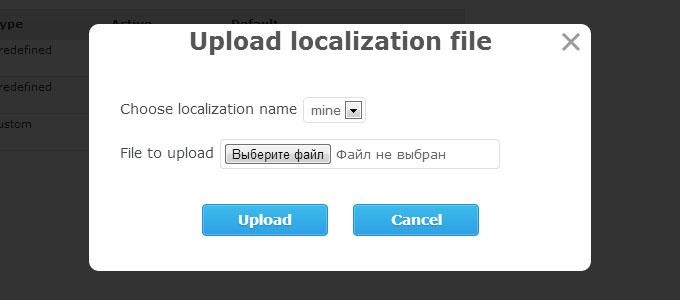
You can use PoEdit to create localization files. Create one on you computer and then upload it to your site.
Click "Upload localization file" and in the popup choose localization you've prepared the file for.
NOTE: Localization files can be used for existing localization only.
You can also use localization feature to create your own texts on your site. Create your own localization, choose text you would like to change, create your own etry and use your ned localization on your site.
You can add social components to your Reseller site and apps using Facebook and Twitter integration. Follow the steps below to get the feature work.
Before you set up the feature on your site, you need to do some setup on Facebook & Twitter sites.
Facebook setup
To create an app on Facebook.com you have to register as a Facebook developer. Refer to developers.facebook.com to create your Facebook developer account.
Click "Register New" button and create your Facebook developer account.
NOTE: you have to be a registered and logged in Facebook user.
Once you're done with your developer account, find "Create new app" button and enter your app name in the pop up window; then click "Continue" button:

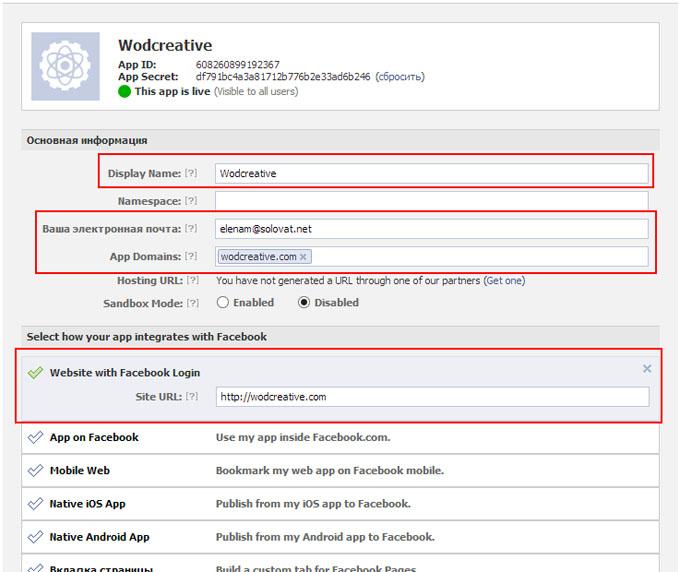
Fill out your app info, as shown below:
- Display Name
- Your email
- App domain - enter your Reseller domain name
If you want to enable authorization via Facebook on your Reseller site, enter your Reseller site domain name in "Website with Facebook Login". All other fields might left blank.
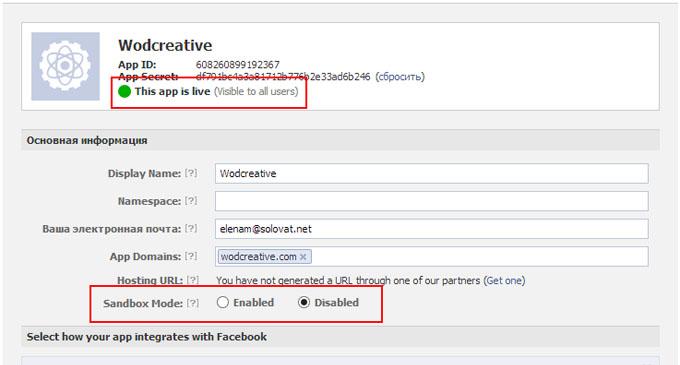
When done, disable the "Sandbox mode" by selecting the "Disable" radio button. The indicator near your app name should become green:
The next step is to fill out your app details. Click on app icon to open the app profile page:

NOTE: you can leave the app info field blank, but you will be asked to fill it out later.
The next step is your Facebook app approval. That's necessary to make "Like" buttons active within your apps.
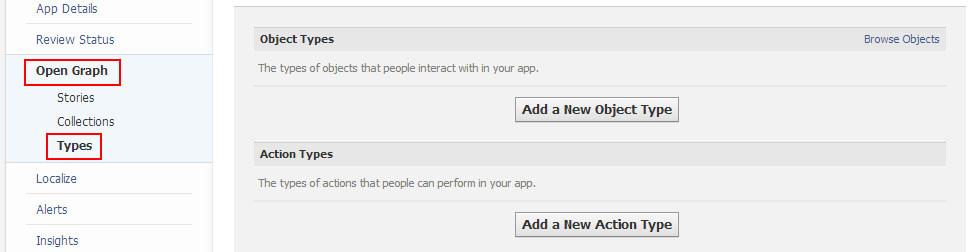
Go to "Open Graph" -> "Types" and see the page is empty:
Now, follow the steps listed below:
- Install an app created on your site. The app should contain modules that use the "Like" feature;
- Login the app with your Facebook developer account and create a Like
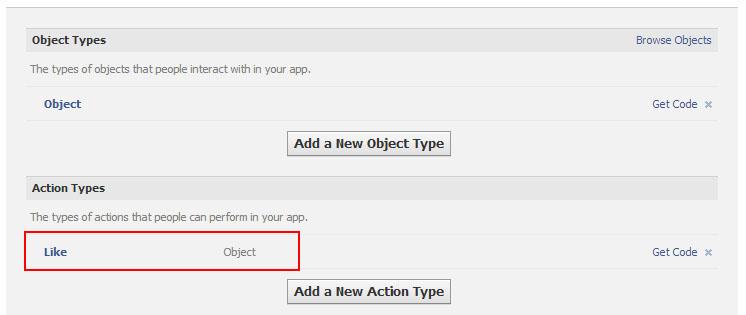
Refer back to Facebook "Open Graph" -> "Types", refer to "Action Types" section and click "Like":
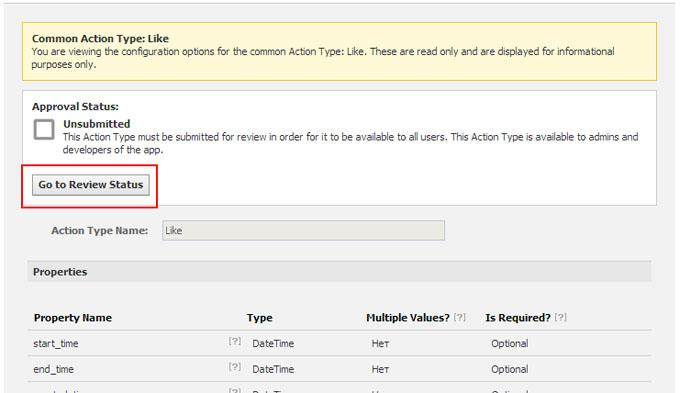
On the next screen, click "Go to Review Status" buttons:
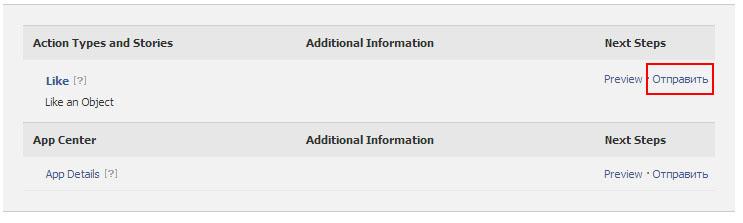
Click "Send" link to initiate the review process:
In the popup, fill out the form as described below:
- Provide your app description. You can use the following text as an example:
We're using "Like:Object" action in our native iOs apps.
The flow is as the following:
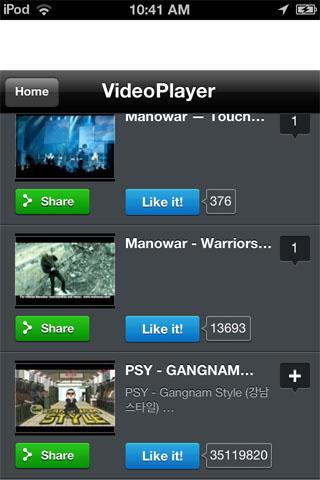
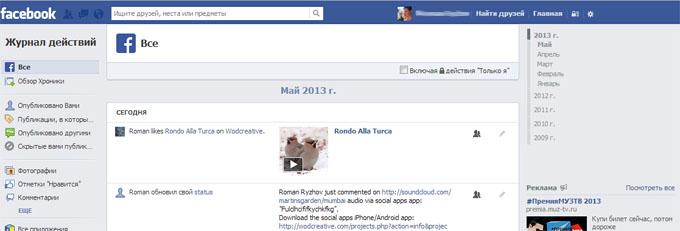
1. The user opens an app.
2. The user opens "Video list" page within the app (img. 1).
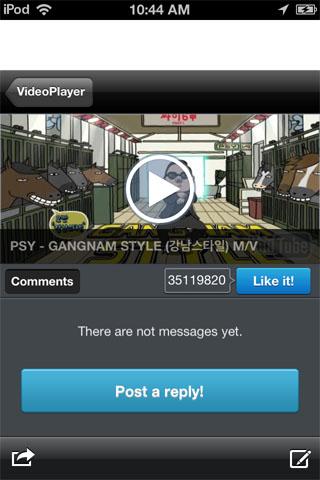
3. The user clicks on "like" icon (either from this list (img. 1) or from video details page (img. 2)).
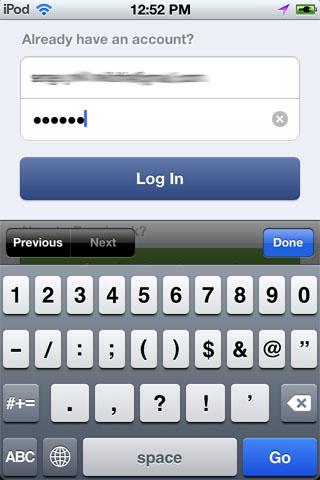
4. After clicking on "like" icon, the user will be prompted to sign in (img. 3)
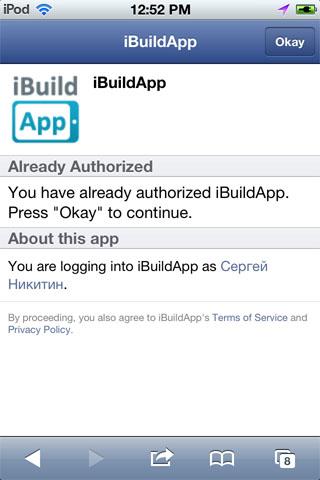
5. Once authorized, the user clicks "Okay" (img. 4), and "like" action is published.
"Like" in our developer's timeline: https://www.facebook.com/your_profile/activity/your_like (img. 5)
This description was created for "Video" feature; you can use it for any other feature with "Like" functionality - just change the name of the feature.
Also, you have to provide the link of the page with "like" feature you've just made from your app. - Create 5 screenshots for upload:
- Main page of the feature your use:
- Feature's second-level page (item details page):
- Login screen:
- Successful login screen:
- Your Facebook activity page with the "Like" you've posted through the app.
- Main page of the feature your use:


Then, follow the steps below to send your app for approval:
NOTE: it may take up to 3 days for FB team to approve your app.
Once your app is approved, you can refer to your Reseller site to perform further settings.

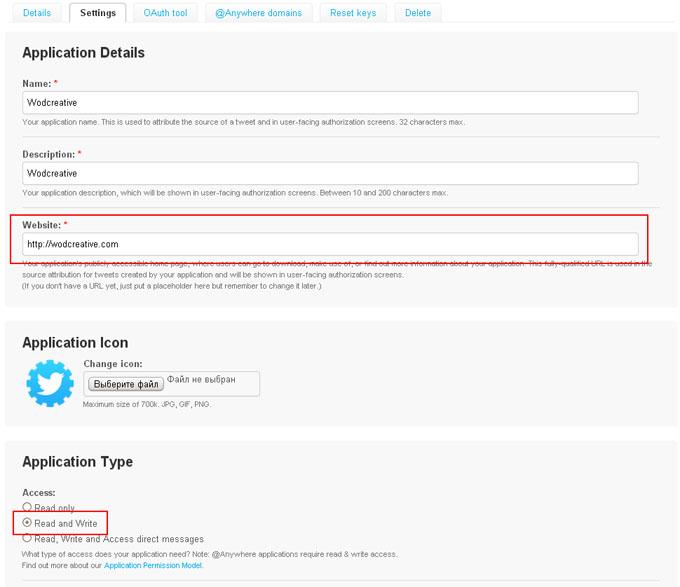
NOTE: To make your Twitter settings work properly, fill in "Callback URL" value.
Fill out your app details as shown below paying attention to the following:
- Website URL - your Reseller site URL
- Apllication Type section - choose "Read and Write" mode.
Now you can refer to your Reseller site to perform further settings.
Reseller site setup
When you set up Facebook and Twitter API keys on your site, your have the following great features available for your customers:
- Authorization via Facebook & Twitter on your site
- Like & share features on your site;
- Like & Share features within mobile apps (Like and Share posts people make via mobile apps, will be published under your brand).
Follow these instructions to set up Facebook and Twitter API keys on your site:
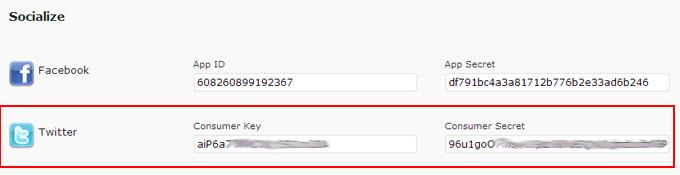
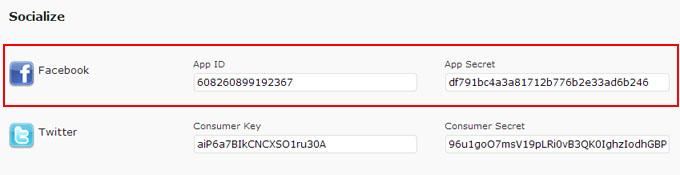
- Open your reseller Administrative panel (My_site_name.com/wp-admin/) and locate "Tools" -> "Reseller" -> "Socialize" section on the left sidebar.
- Go to developer.facebook.com -> "Apps" -> "Your app" and find "App ID/API Key" & "App Secret":

Copy and paste API key and App Secret from Facebook site to your Reseller site:
- Go to dev.twitter.com -> "My Applications" -> "Your app" -> "OAuth Settings" and find "Consumer Key" & "Consumer Secret":
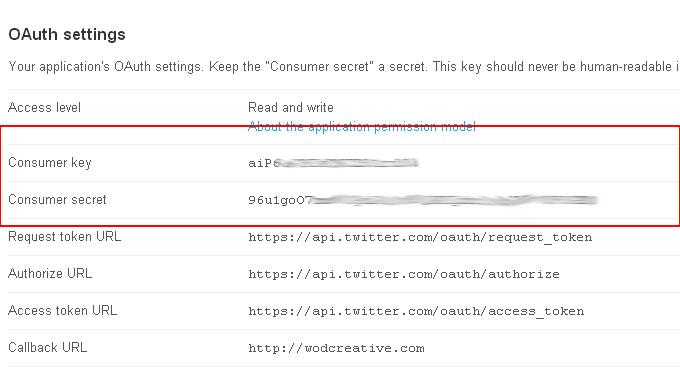
Copy and paste Consumer Key and Consumer Secret from Twitter site to your Reseller site: